Leading busy lives and with so many hours in a day, it can be challenging to keep our home in order. What is often behind closed doors and out of sight can quickly become unorganized and chaotic. One of these doors is our bedroom closet. At some point in their life,...
Meet The Founder

Pascale Larose Grisé
Bonjour, Hello!!
I’m Pascale, founder of
Larose & Cie Inspired Living.
I created this community for women like you and me.
It is a place of inspiration, celebration, growth and shared interests, with a mission to help guide you in shaping the next chapter of your own story – through 4 key elements: Style, Taste, Home, Wellbeing.
Welcome to the sisterhood!
Xx

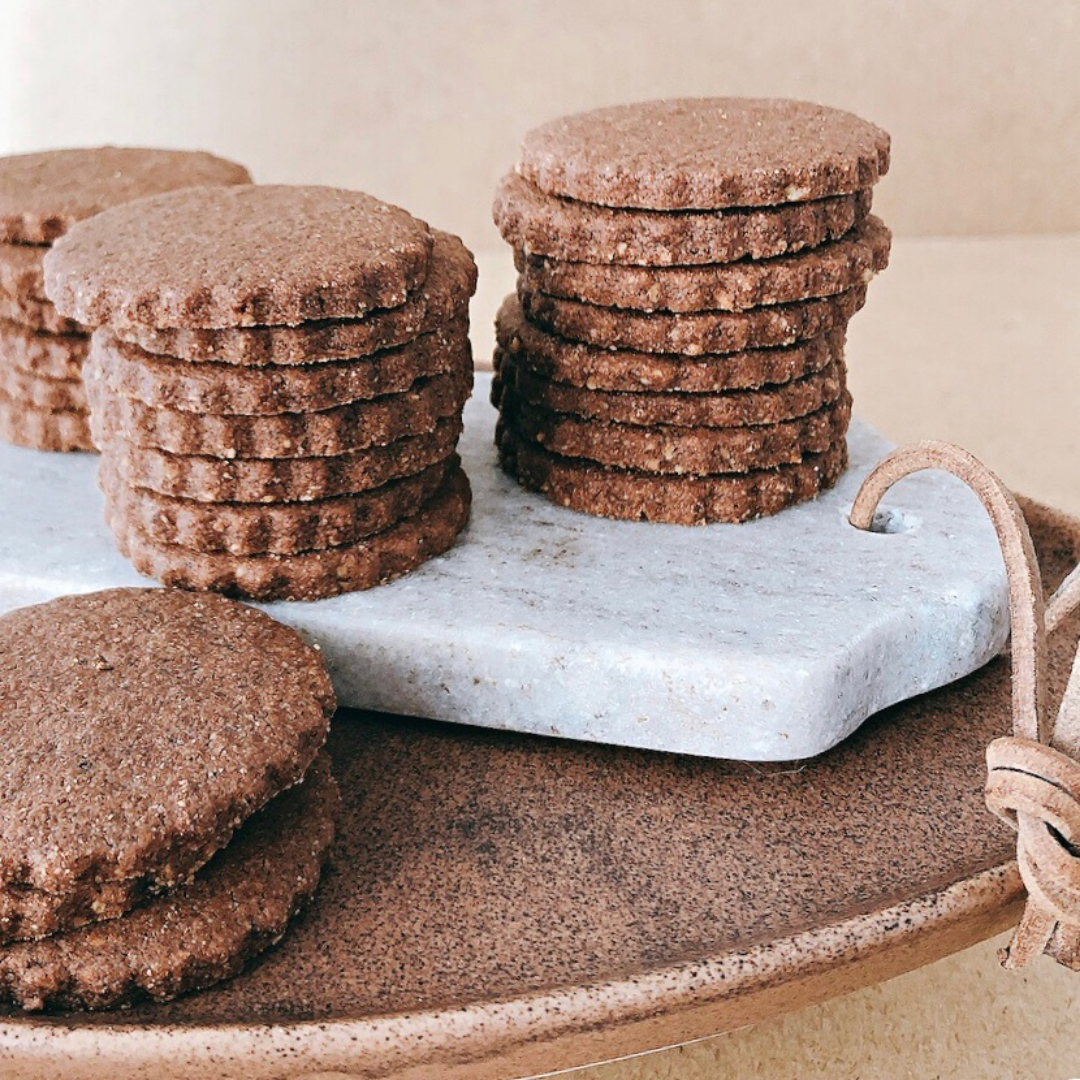
Hazelnut, Cacao & Coffee Sablés
Decadent Gluten-Free Sablé Cookies

Sablés are and have always been my favorite cookies. I do like big gooey ones too, but there is something to be said about the simple, sandy yet buttery and decadent petit biscuit that is so delightful! At teatime or for dessert, they are simply perfect.
In my mom’s kitchen, buckwheat flour was a staple growing up. Thinking about this new recipe and what flour I could use for a gluten-free sablé, I went back to my roots and chose buckwheat as a healthy base to build on. Adding rich layers of flavors with toasted hazelnut, cacao, and espresso powder to the hearty taste of the flour, these melt in your mouth, scrumptious cookies have now become my new favorites.
| Images | Texte |
Hazelnut, Cacao & Coffee Sablés
Ingredients
- 1 ⅓ Cup / 180gr Organic Buckwheat flour
- ½ Cup / 75gr Organic Brown Rice flour
- ¼ Tsp Himalayan Salt
- 4 Tbsp Cacao powder
- ¾ Tsp Espresso powder
- ½ Cup / 75gr Fine Maple Sugar
- ½ Cup/ 75gr whole Hazelnut, toasted, skin removed and then finely chopped
- 2 Tsp Vanilla extract
- 1 Egg Yolk
- ⅞ Cup/ 198gr Organic unsalted butter, cold and cut into small cubes
Preparation
- Position the racks to divide the oven into thirds and preheat the oven 350° F
- To make the dough in a food processor, put all the dry ingredients in the food processor and pulse a few times to blend. Add the Hazelnut, sugar, vanilla, and egg yolk and pulse a few more time. From the top opening, while pulsing, add the cubes of butter a few at a time. Pulse until the mixture start to form a ball. Don’t overdo it. Remove from the food processor.
- Form a big disk with the dough. Wrap in a parchment or waxed paper and refrigerate for 1 to 2 hours depending how soft your dough is. You can keep it in the fridge overnight if you want to bake them the following day.
- Remove the dough from the refrigerator, unwrap it and with a sharp knife cut it into 4 portions. I find it easier to roll it in smaller sections.
- Place a piece of dough between 2 parchment paper sheets and roll to a ¼ inch thick. Cut into shapes with your chosen cookie cutter. Repeat 3 more times. Roll all the scraps and cut again (you might need to place them in the refrigerator if they have become too soft and sticky).
- Place the cookies 1 inch apart on an air insulated cookie sheet. If using regular cookie sheets, put a piece of parchment before placing the cookies on them.
- Bake the cookies for 10 minutes.
- Rotate the baking sheets quickly from top to bottom and front to back at the midway point. When done, let them cool on the baking sheet for 10 to 15minutes, then carefully transfer to a cooling rack and leave until completely cooled. For the best texture, let the cookies set for 12 to 24 hours before eating.
Notes & Tips
- Yield about 48 cookies depending on the size of your cookie cutter.
- The cookies will keep for a week in an airtight container in the fridge.
- The air insulated cookie sheet prevents the bottom of the cookies from burning. If you don’t have one, you can use a regular baking sheet with some parchment paper and place the rack in the middle of the oven, so the cookies are not too close to the heating elements.
- If you don’t want to have to rotate and swap the cookie sheet at midpoint, place the rack in the middle of the oven. You will have to work in a few batches but will avoid opening the oven while baking.


0 Comments